


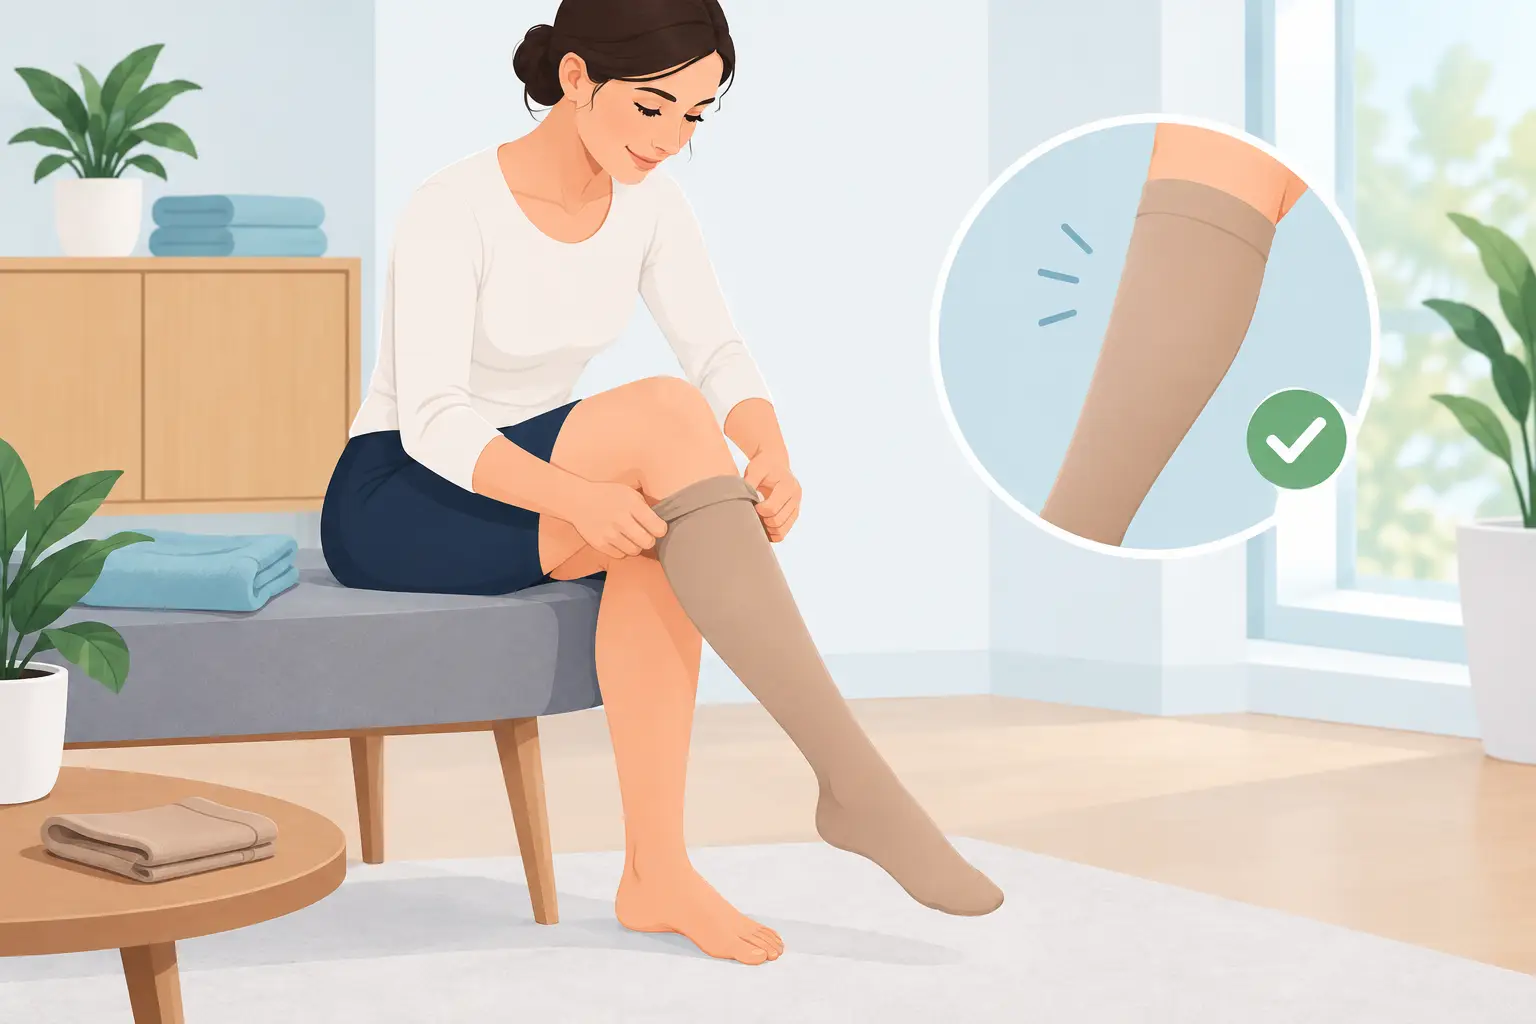
A small tug in the wrong place can alter the fit of a stocking: when you put on compression stockings without wrinkles, you help ensure the medically prescribed pressure distribution and avoid pressure points, constriction and unnecessary discomfort. Especially in the morning, when mobility is limited or during home care, putting them on calls for a calm, safe technique—not more force.
Why a smooth fit is essential
Medical compression stockings apply a defined, gradually decreasing pressure to the leg from the bottom up. This pressure supports venous return and may be necessary for venous conditions, edema, after surgery or as part of compression therapy prescribed by a doctor. To maintain this effect, the knitted fabric must lie smoothly against the leg.
Wrinkles create localized pressure points. They can feel uncomfortable, dig into the crease behind the knee or cause redness on sensitive skin. Rolling the top band downward can also act like a tight band, so it is not a suitable way to adjust the stocking. A stocking whose heel is not in the right place will not distribute pressure as intended either.
Taking the time to get it right is especially worthwhile when stockings are worn for long periods. If you put the stocking on correctly in the morning, you will usually need to readjust it much less often during the day. However, pain, numbness, cold toes or toes that have turned bluish should not be ignored: remove the stocking and seek medical advice or have a healthcare professional check the fit.
How to put on compression stockings without wrinkles: Preparation
The best time is usually in the morning, as soon as you get up. At that point, your legs are often less swollen than after standing or sitting for a long time. If you can only put the stockings on later, it may help to elevate your legs for a while beforehand. However, this is no substitute for individual medical instructions.
Your skin should be clean and completely dry. Any moisturizer or body lotion should be fully absorbed before putting on the stockings, as a damp or greasy film makes it harder for the fabric to slide over your foot. Also check that your nails, rings or rough patches of skin will not damage the material. Remove any jewelry from your hands.
If you have open skin wounds, severely weeping eczema or sudden, significant swelling in your leg, consult your treating practice or a qualified healthcare provider before putting on the stockings. Not every change in the skin means that compression is not possible, but your treatment should be assessed by a professional.
The right starting position
Sit on a sturdy chair. Your leg should be easy to reach without having to lean forward or twist excessively. A footstool may help if your hip movement is limited. In a care setting, choose a position that is comfortable for both the person receiving care and the caregiver.
Specialized rubber gloves with a grippy surface can help. They protect the material from damage caused by fingernails and make it easier to smooth the stocking out evenly afterward. Household gloves are suitable only if they are clean, dry and free of sharp edges.
Step by step to a smooth fit
Hold the stocking by the top band and turn it inside out down to the heel. The foot section should remain visible inside. If the stocking has an open toe, you can first use the included donning aid, if recommended by the manufacturer.
Pull the foot section over the toes and forefoot. For closed-toe models, make sure the toes are not squeezed together. Position the heel exactly where it belongs. This step is essential: if the heel sits too high, too low or twisted to one side, wrinkles on the lower leg will be difficult to avoid later.
Then gradually pull the material over the ankle and calf. Use the palms of your hands rather than pulling hard on the top edge. Work the knit up a little at a time, smoothing it as you go. Never pull a compression stocking all the way up in one go like an ordinary sock. This can overstretch the material, cause wrinkles and be particularly strenuous with higher compression classes.
No material should bunch up at the knee. For knee-high stockings, the top edge usually ends about two finger-widths below the crease of the knee, unless the prescribed treatment or product instructions specify otherwise. Thigh-high stockings and tights should likewise be worked gradually over the knee and thigh. Silicone bands must lie flat on clean, dry skin and must not be folded over.
Finally, use your gloves to smooth the stocking up the leg, starting at the ankle. Smooth out any small horizontal wrinkles by spreading the material to the sides and upward. Pay particular attention to the area behind the knee, the ankle, the heel and the top edge. The stocking should fit smoothly without cutting into the skin.
Stocking aids: when they are useful
Using a stocking aid is not a sign that you are less independent. It can make putting on your stockings every day easier, reduce strain on your hands and back, and help ensure that the compression fits correctly. It is particularly useful if you have limited hand strength, arthritis, shoulder problems, restricted mobility after surgery or need a higher compression class.
Frame-style stocking aids hold the stocking open so you can slide your foot in more easily. They are especially suitable for people who can put on their stockings while seated. Slippies and sliding mats reduce friction on the foot and are removed after the stocking is on. For carers and care staff, systems with handles and longer pull straps can make the task more ergonomic.
The right stocking aid depends on the stocking style, material, compression class and your physical abilities. An aid for open-toe stockings is not automatically suitable for closed-toe models. Ask for a demonstration when you first receive your stockings and take time to practise. If compression has been prescribed, aids may also be part of your treatment plan, depending on your individual circumstances.
Avoid common mistakes when putting on stockings
The most common mistake is pulling the stocking up by its top edge. This often leaves too much material around the ankle or in the crease of the knee. It is better to distribute the stocking over the leg and smooth each section as you go.
Folding over the top edge is also unsuitable, even if the stocking seems too long at first. The doubled fabric creates strong, localised pressure. If a stocking is repeatedly too long, keeps slipping down or does not fit properly at the heel and knee, its size or custom fit should be checked. Medical compression stockings must match your leg measurements and medical indication—they are not ordinary support stockings.
Also avoid pulling the stocking over damp skin or adjusting it with sharp objects. Small snags in the knit can affect its durability and effectiveness. If needed, you can usually smooth out wrinkles gently with gloved hands.
Check throughout the day
After walking a few steps, take a moment to check the fit. The stocking must not twist, ride up into the crease of the knee or roll down at the top edge. On longer days, you can smooth it with flat hands. If you need to pull it up significantly, do not tug at the top edge; instead, redistribute the material from the bottom upward.
Remove the stocking in line with the recommended wearing time and check your skin. Light marks that disappear quickly can occur. However, persistent pressure marks, blisters, pain or new skin discolouration should be checked by a healthcare professional. This skin check is especially important if you have diabetes, circulatory problems or reduced sensation.
A compression stocking should not have to be pulled on with force to sit smoothly. With the right size, a calm, section-by-section technique and a suitable stocking aid, daily compression becomes a reliable part of your care—and leaves you with more energy for movement and independence in everyday life.

